Introduction
Composting is one of those things that sounds intimidating — like you need a degree in soil science or something. But really, it's just letting food scraps and yard waste decompose into rich, dark dirt that's great for your garden.
Nature has been doing it for billions of years without any help from us. The basics are simple: pile up organic stuff, keep it moist, turn it occasionally, and wait. It will turn into compost.
Here's everything a beginner needs to know to start composting in their backyard.
Why Compost?
- Reduce waste: Food scraps make up 20-30% of household trash. Composting keeps them out of landfills.
- Free fertilizer: Compost is "black gold" for gardens — it improves soil structure, adds nutrients, and helps plants grow.
- Help the planet: Less methane from landfills, less need for synthetic fertilizers, healthier soil that stores carbon.
- It's kind of fun: There's something satisfying about watching your food scraps turn into dirt.
What You Can Compost (Greens vs. Browns)
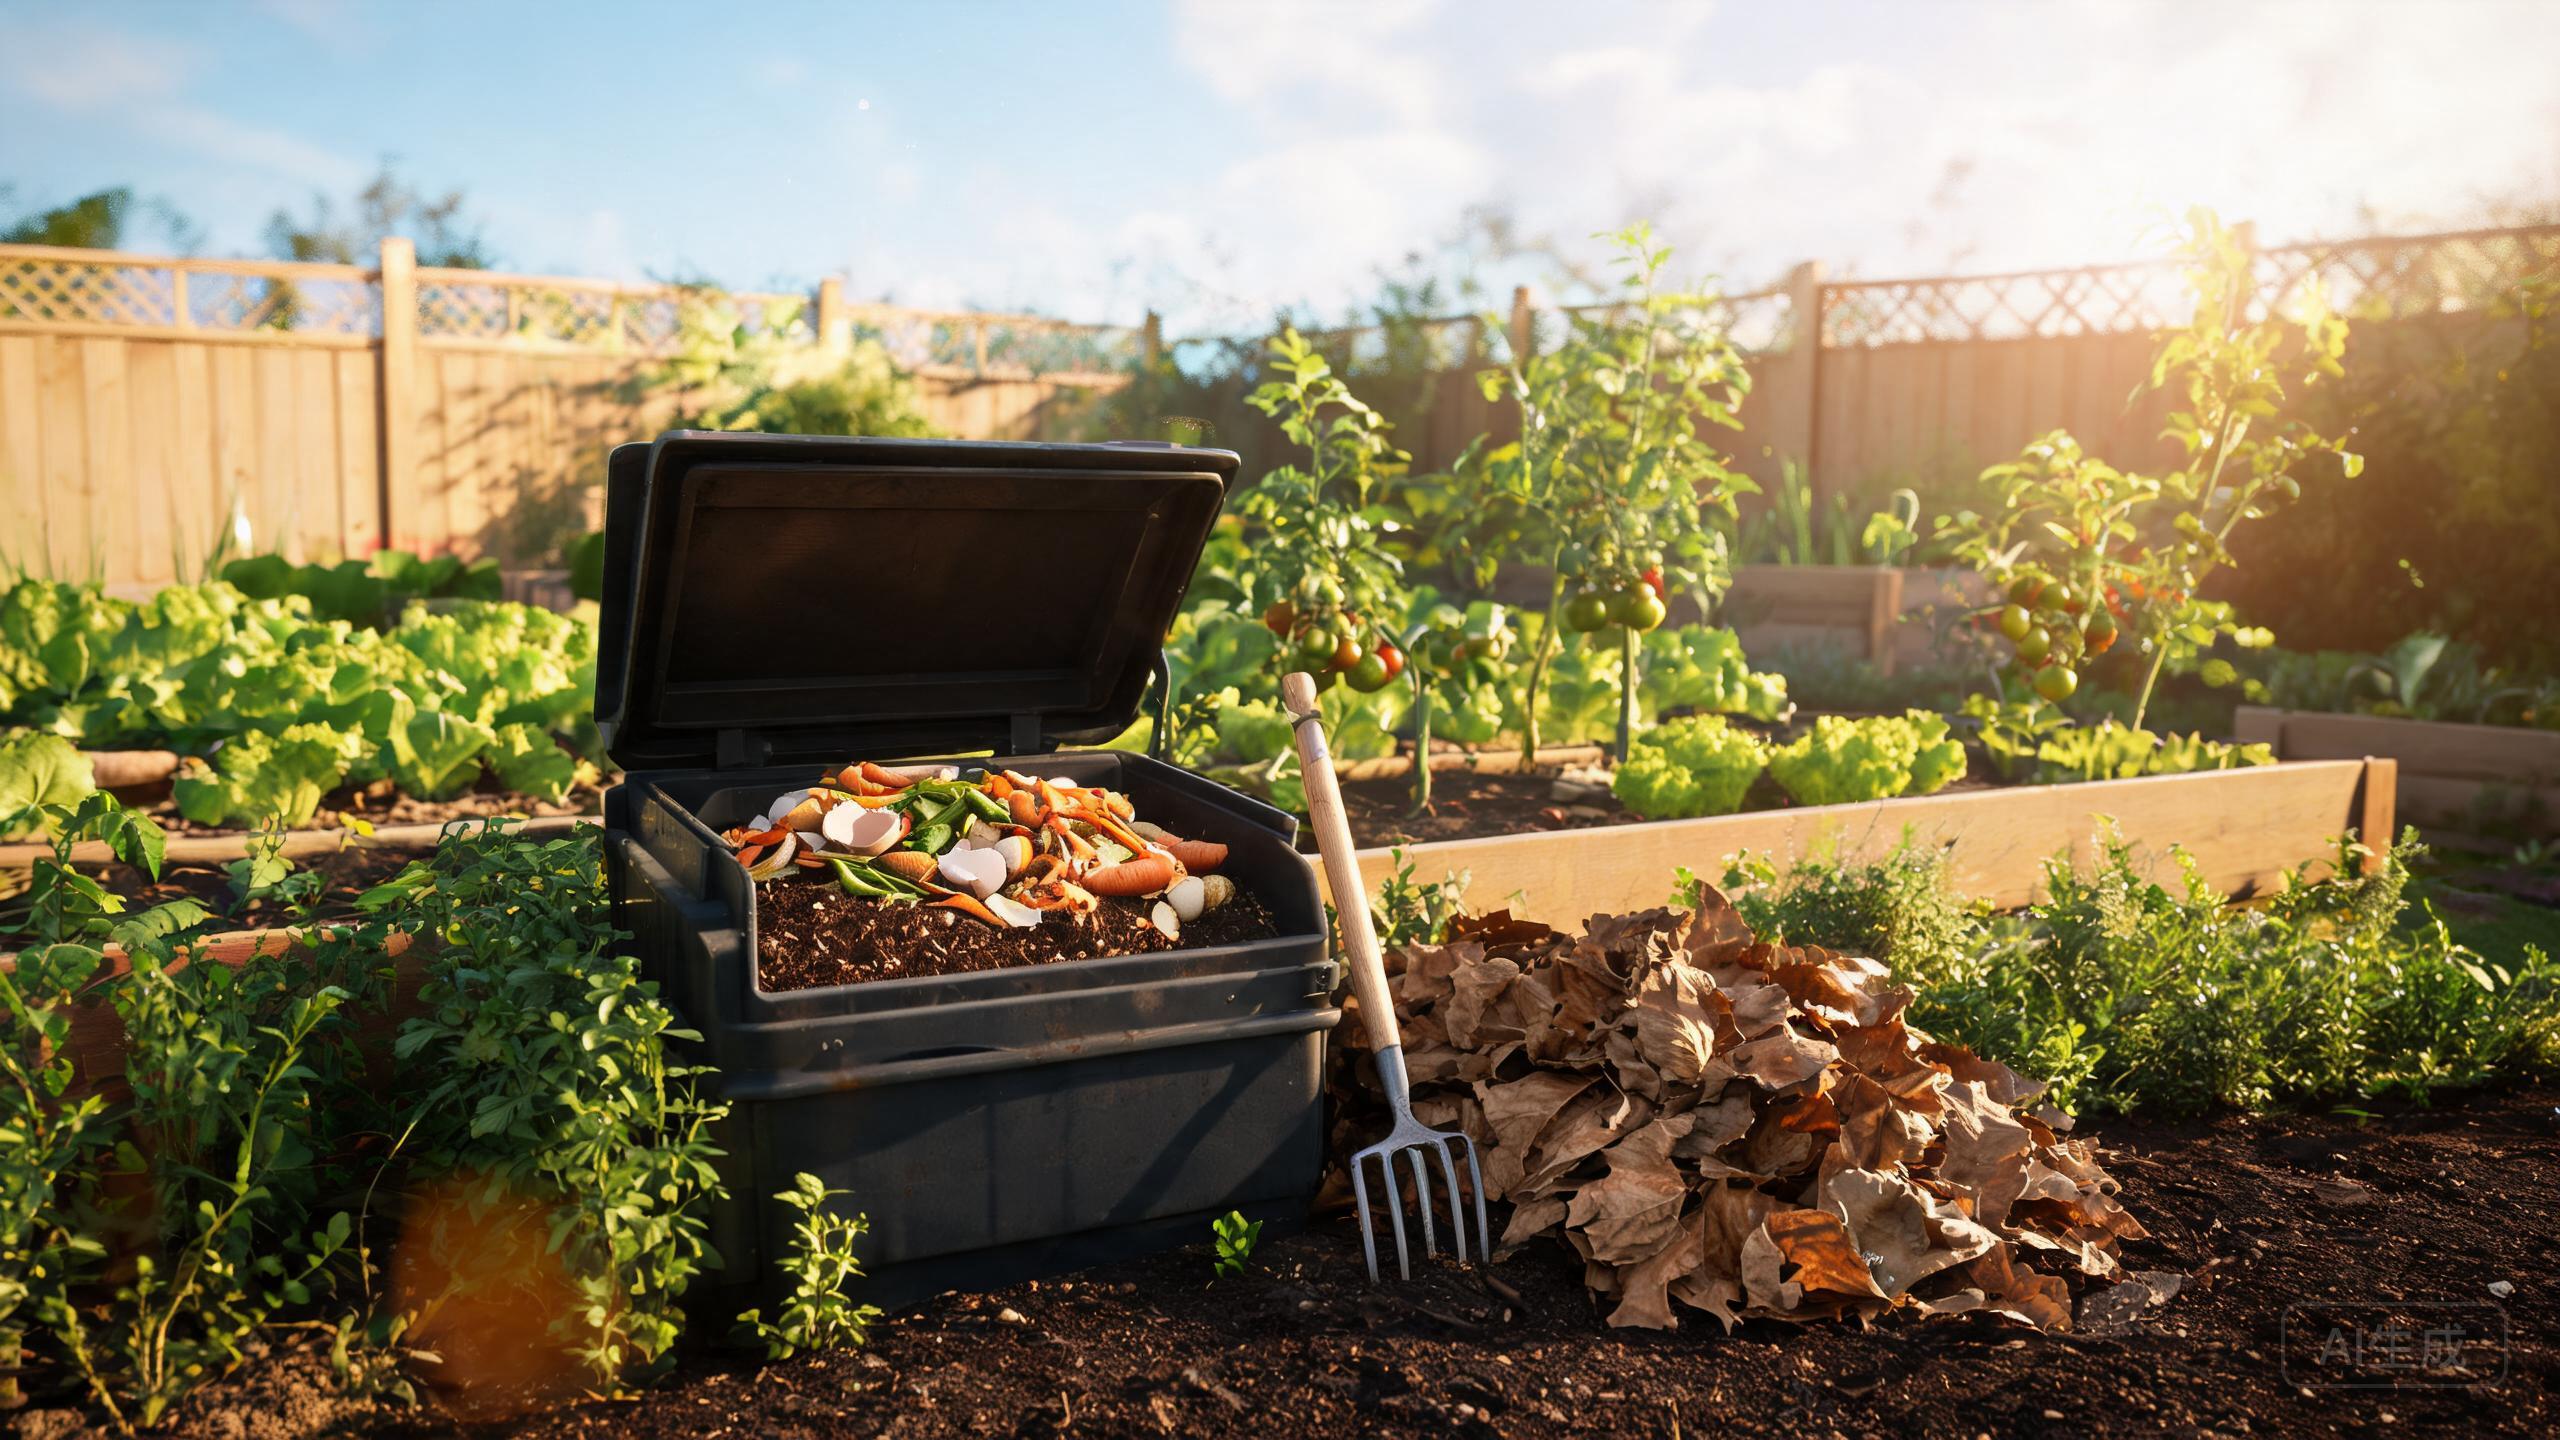
Good compost needs a mix of "greens" (nitrogen-rich, wet stuff) and "browns" (carbon-rich, dry stuff). Aim for roughly 1 part greens to 3 parts browns by volume.
Greens (Nitrogen) — Wet, Green, Food
- Fruit and vegetable scraps
- Coffee grounds and filters
- Tea bags (remove staples)
- Grass clippings
- Plant trimmings
- Fresh leaves
Browns (Carbon) — Dry, Brown, Woody
- Dry leaves
- Shredded paper and cardboard (no glossy paper)
- Sawdust and wood chips (from untreated wood)
- Straw or hay
- Dryer lint (from natural fibers)
- Pine needles (in moderation)
What NOT to Compost
- Meat, fish, dairy: Attracts rats and other pests
- Cooked food with oil or salt: Can attract pests and disrupt the compost
- Diseased plants: Can spread disease to your garden
- Dog/cat waste: Can contain parasites
- Glossy or colored paper: The inks can be toxic
- Plastic, metal, glass: Not organic — duh
How to Start (Step by Step)
1. Choose a Bin (or Don't)
You don't need a fancy bin to compost. You can just make a pile in the corner of your yard. But a bin keeps things neater and helps with heat and moisture.
Options:
- DIY wire bin: Make a circle with chicken wire or hardware cloth. Cheap, easy, good airflow.
- Store-bought compost bin: Tumblers, plastic bins, wooden bins — lots of options.
- Three-bin system: The most efficient for serious composters. Three bins for different stages.
For beginners, a simple wire bin or cheap plastic bin is fine.
2. Pick a Spot
Put your compost bin:
- In a level, well-drained area
- Somewhere convenient (you'll be adding scraps regularly)
- Not too close to the house (can attract pests, might smell if managed poorly)
- In partial shade (helps retain moisture)
- Not under a tree (roots can grow into the pile)
3. Start Your Pile
- Layer browns first (6-8 inches of dry leaves, shredded paper, straw)
- Add greens (food scraps, grass clippings)
- Top with more browns (cover the food scraps — this prevents odors and pests)
- Moisten each layer as you go — it should be as damp as a wrung-out sponge
- Repeat — keep alternating green and brown layers
4. Maintain It
- Add scraps regularly: Chop food into small pieces first (faster decomposition)
- Cover with browns: Always bury food scraps under browns to prevent odors and pests
- Turn it every 1-2 weeks: Use a pitchfork or compost aerator to mix everything up. This introduces oxygen, which speeds up decomposition.
- Keep it moist: If it's too dry, add water. If it's too wet, add more browns.
5. Harvest Your Compost
Compost is ready when it's dark, crumbly, and smells like earth — no recognizable food scraps left. This can take anywhere from 2 months (hot compost, turned regularly) to a year (cold compost, left alone).
When it's done:
- Sift out any big chunks that haven't decomposed yet (throw them back in the new pile)
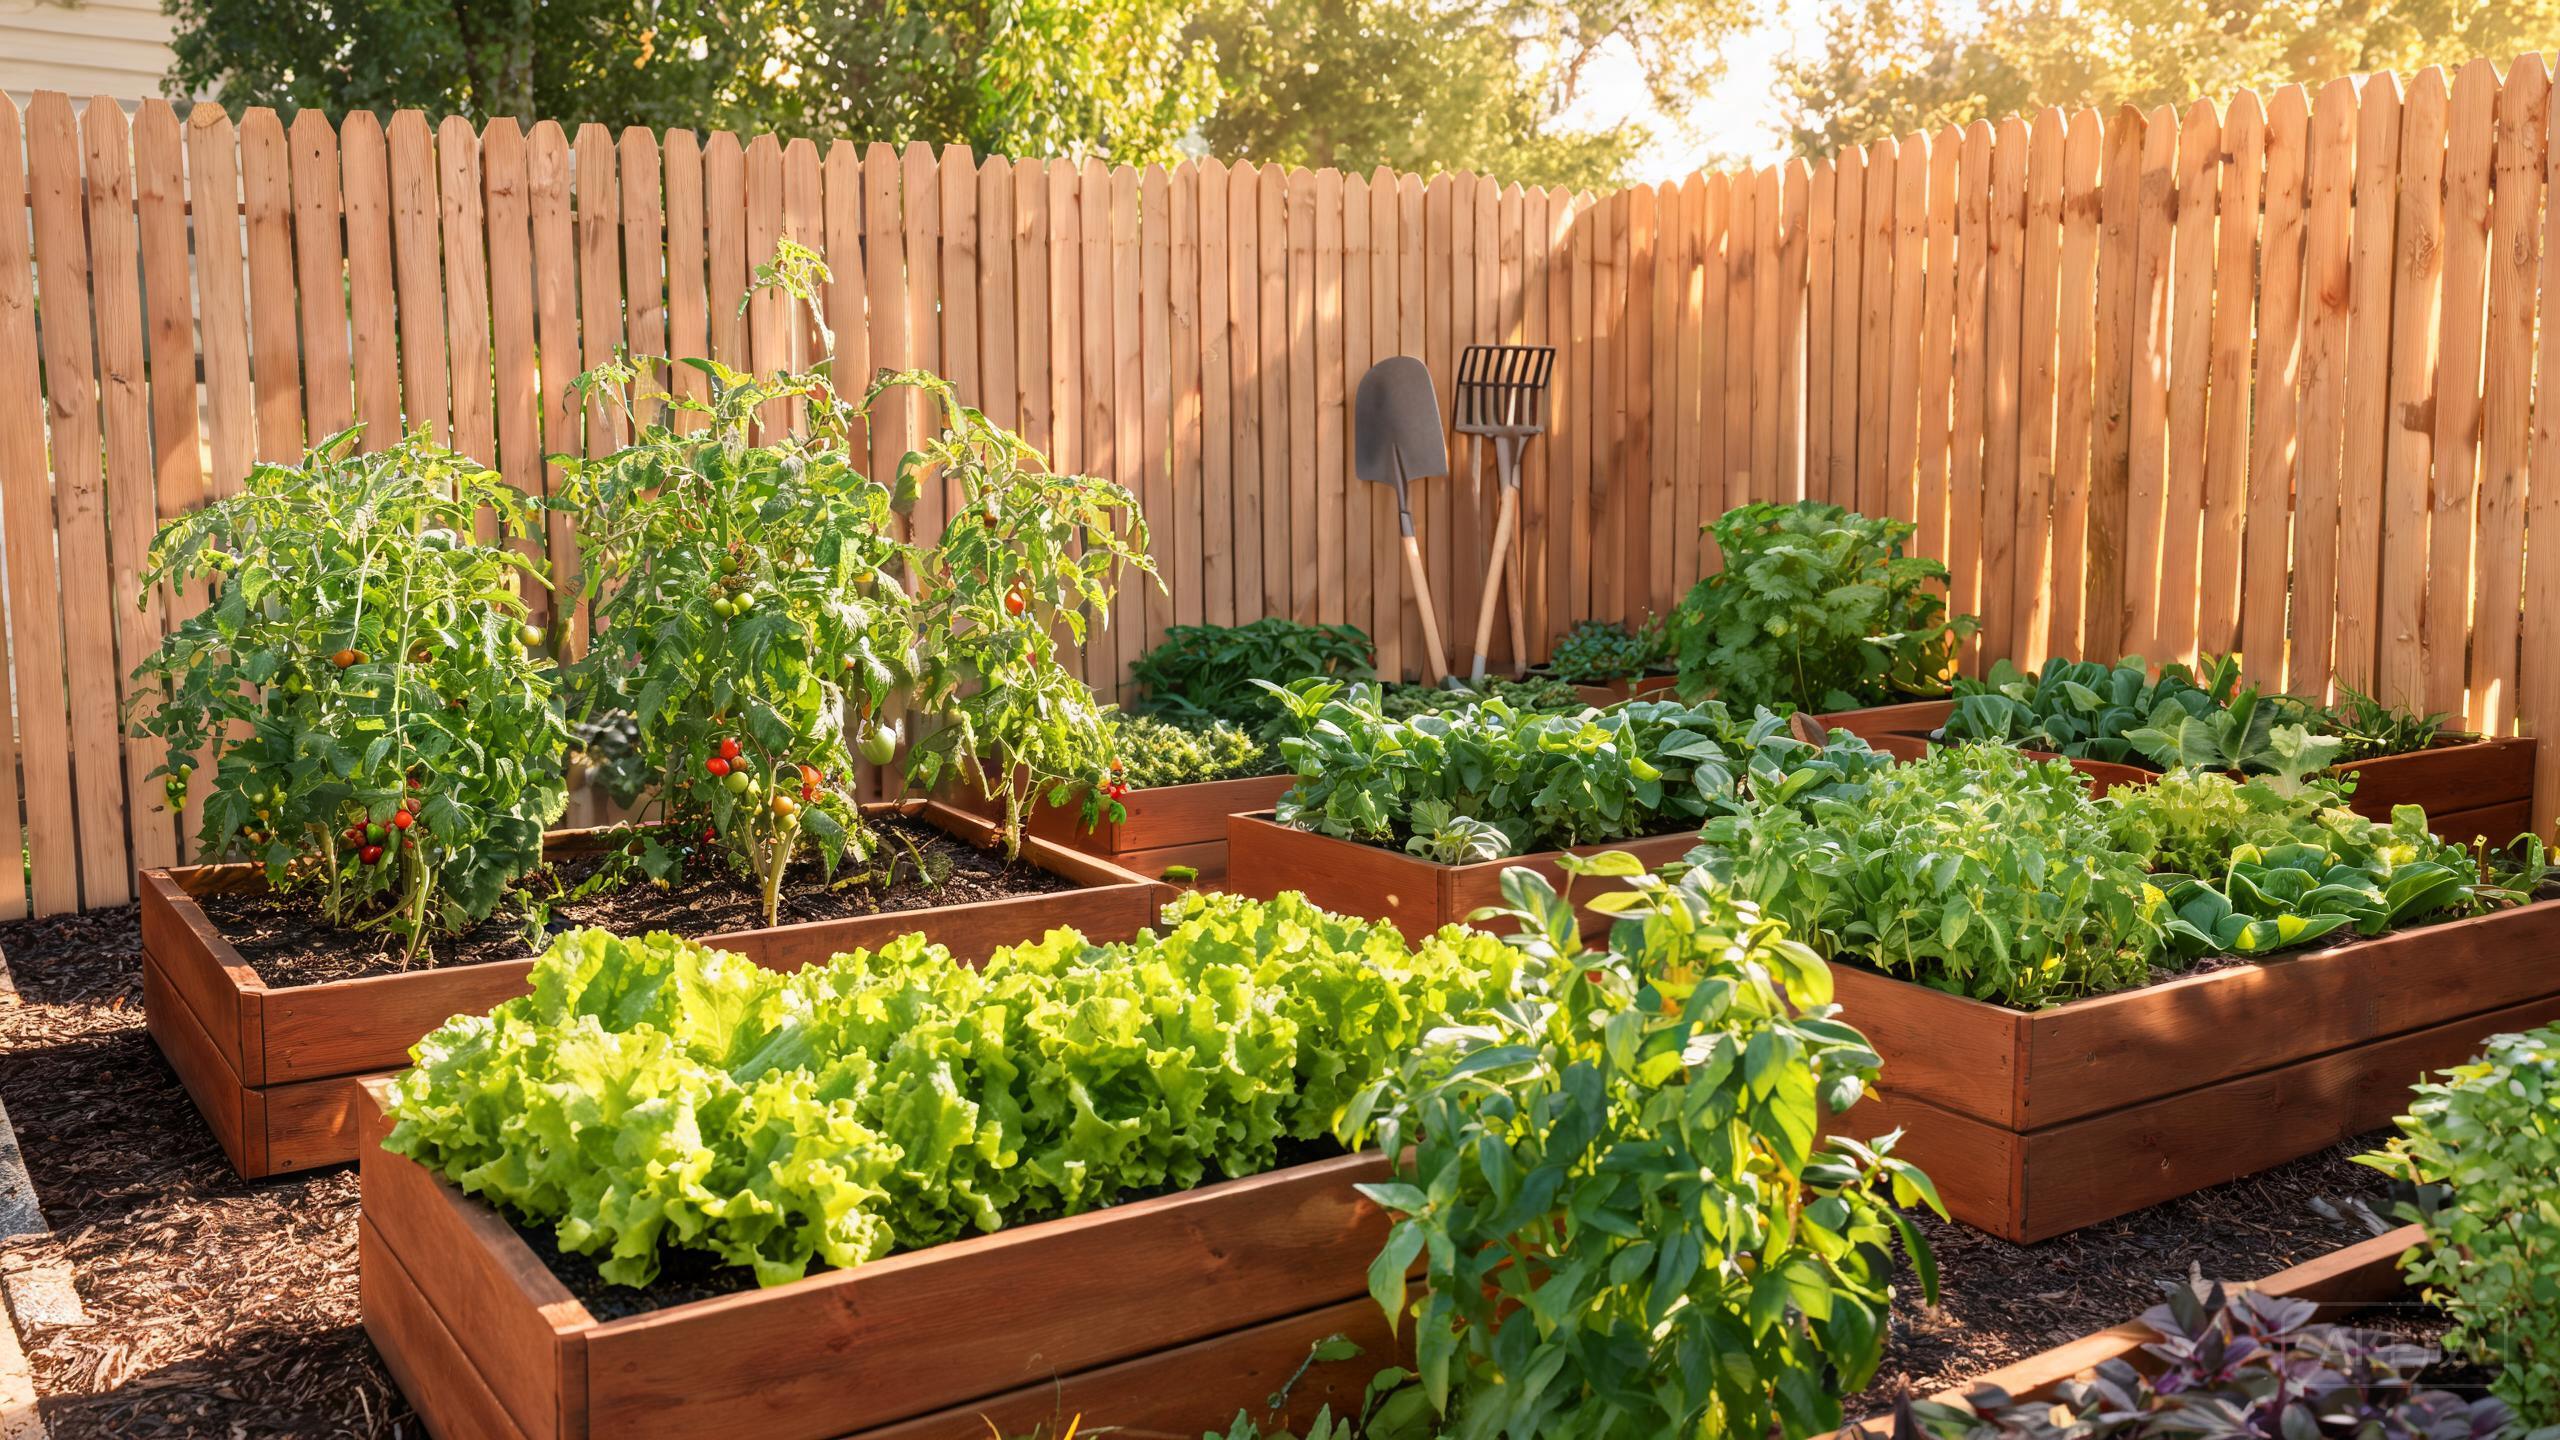
- Use it in your garden, flower beds, or potted plants
- Spread it 1-2 inches thick and mix into the top few inches of soil
Common Problems (and Solutions)
It Smells Bad
Cause: Too many greens, not enough browns, too wet, or not enough oxygen. Fix: Add more browns (dry leaves, shredded paper), turn it more often, and make sure it's not too wet. A properly managed compost pile shouldn't smell — it should smell like fresh dirt.
It's Not Heating Up / Taking Forever
Cause: Not enough greens, too dry, too small, or not enough oxygen. Fix: Add more greens (food scraps, grass clippings), moisten it, turn it more often, and make the pile bigger (at least 3x3 feet for hot compost).
Pests (Rats, Raccoons, etc.)
Cause: Food scraps are exposed, especially meat or dairy. Fix: Always bury food under 6+ inches of browns. Don't compost meat, dairy, or cooked food. Consider a rat-proof bin if the problem is bad.
It's Full of Fruit Flies
Cause: Fruit scraps on the surface attract fruit flies. Fix: Bury fruit scraps deeper under browns. Freeze food scraps before adding (kills fly eggs). Keep the pile covered with browns.
Composting Methods
Cold Composting (Easiest)
Just throw stuff in a pile and wait. It takes 6-12 months but requires almost no work. Perfect for beginners or people who don't want to think about it much.
Hot Composting (Faster)
Build a big pile (3x3x3 ft minimum) with the right green-brown ratio, keep it moist, and turn it every week. It gets hot (130-160°F) and kills weed seeds and pathogens. Ready in 2-3 months.
Vermicomposting (Worms!)
Use red wiggler worms to compost food scraps indoors in a bin. Great for apartments or people without yards. Worms eat food scraps and produce "worm castings" — the best compost there is.
Trench Composting
Dig a trench in your garden, throw food scraps in, cover with dirt. It decomposes in place and feeds your plants directly. Simple but slow.
What Do I Do With All That Compost?
Once you have compost, use it:
- In vegetable gardens: Mix into soil before planting, or side-dress growing plants
- In flower beds: Top-dress perennials and annuals
- For potted plants: Mix with potting soil (1 part compost : 3 parts potting soil)
- On the lawn: Spread a thin layer (1/4 inch) for a healthier lawn
- Around trees and shrubs: Spread 2-3 inches around the base (keep away from the trunk)
Final Thoughts
Composting is simpler than it sounds. You don't need fancy equipment or a science degree. You just need a pile of organic stuff, some moisture, and a little patience.
Start small. Get a bin, throw in your vegetable scraps and coffee grounds, add some dry leaves, and see what happens. You'll probably make some mistakes — that's fine. Compost is forgiving.
Before you know it, you'll have a pile of rich, dark compost and a garden that's happier because of it. And you'll feel good about keeping all that food waste out of the landfill.